Tattoo Bandages – How to Use Them Correctly
Tattoo bandages are a simple part of the tattoo healing process that can be confusing for inexperienced ink enthusiasts, out of practice collectors or those looking to use a new tattoo aftercare method.
The following article will address the use of tattoo bandages and their application while discussing some of the different wraps used to protect your new ink.
The article will also look at the wrap method of tattoo healing and help you decide if it’s the process you wish to use for your next tattoo design.
The initial tattoo bandage
So, you’ve done all the exciting stuff. The tattoo artist has just finished your beautiful piece, the needle and gun are silent. Your adrenalin and concentration levels are starting to ebb, and you’re likely extremely hungry.
Now what happens?
The artist will clean your newly tattooed area, most likely with some antibacterial green soap. They’ll gently wipe away the blood, excess ink and stuff, so you can take your obligatory photos.
After this is done, they’ll apply a tattoo bandage to protect you from bacteria and keep your ink covered for a certain period.
Some tattoo artists will advise little more than 2-3 hours to keep your ink covered, while others recommend at least 12-24 hours.
You’ll often find if your tattoo is done at night, that your artist will advise you to keep the bandage on overnight to avoid any possible rubbing, leaking, or contact issues.
There is no industry standard practice, just the significant hours tattoo artists have put in to making sure their clients have healthy new ink that looks awesome.
If you’re an experienced tattoo collector, you’ll know what works for your skin and your preference for time with the bandage on. If you’re inexperienced or are changing up your tattoo aftercare process, then it’s best to heed your tattooist’s advice, as it is during all stages of the tattoo healing and aftercare process..
What type of bandage is applied?
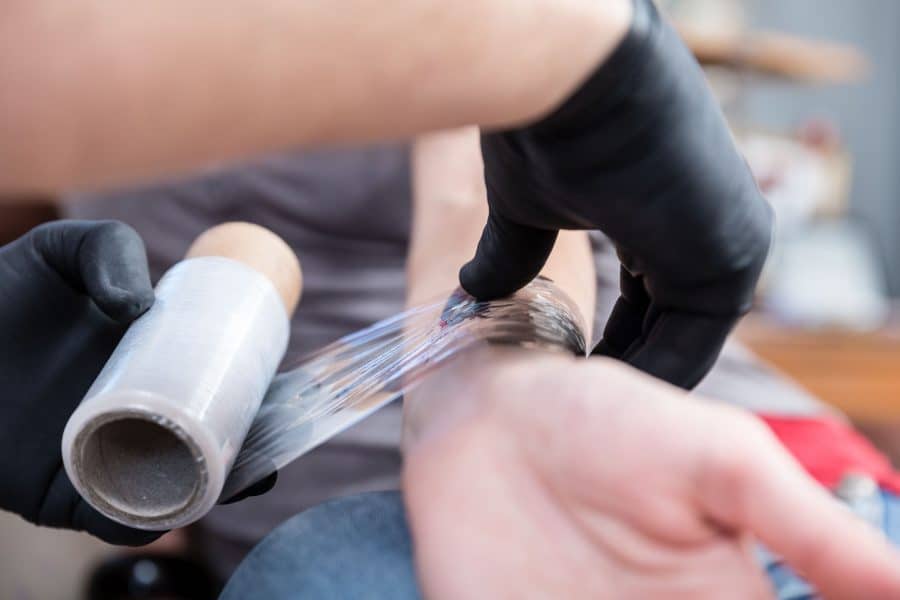
Many artists apply green soap to your new ink, then wrap you up with a simple dri-loc pad, cling film and tape then send you on your way.
Up until recently this has been the way it’s been done, but as tattoo aftercare evolves so do clean coverings used to treat your open wound tattoo.
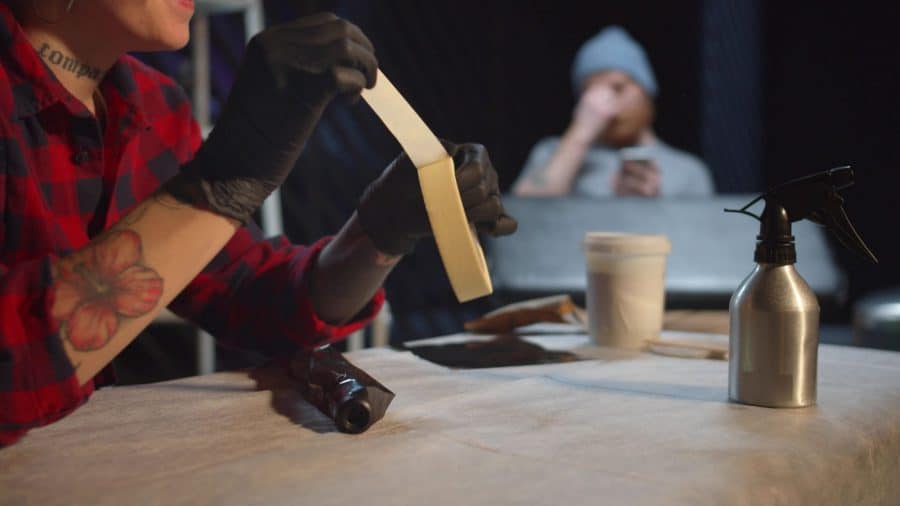
These days the tattoo artist can apply any manner of initial tattoo covering. Products such as Saniderm Tattoo aftercare bandages or the The Recovery Derm Shield are increasingly popular, as are Tatu-derm breathable shield bandages.
If you prefer a specific product you can always bring it with you for the tattooist to apply after they’ve completed your design, or discuss bandaging options when making your appointment.
Removing the bandage
If your tattoo is wrapped up in cling film and green soap, it’s simple just to remove the tape and take the plastic away from the tattoo.
For the adhesive plastics you need to operate with a great deal more care. Work slowly and gently because if you’re not careful, the covering may stick to the skin which may cause ink to drop out.
If you’re having trouble removing the bandage you can try taking it off by running it under lukewarm water.
No matter the type of bandage is being used, make sure make sure your hands have been cleaned thoroughly with antimicrobial soap before you attempt to remove the bandage.
Do I need to apply another bandage?
In my experience (30 + tattoos over 20 years) there’s no need to apply another wrapping to the tattooed area as part of your aftercare process, which begins when you remove the bandage.
What you do need to do is clean the tattoo:
- Wash hands thoroughly
- Apply a small amount of foam cleanser or soap with warm water
- Gently rub cleanser into tattoo and surrounding area
- Wipe off remaining cleanser with a clean paper towel
- Pat dry excess (don’t rub)
- Wait a few minutes before going on to the next step of your aftercare process
From here it’s a matter of choosing your own adventure, which is one of three aftercare methods to successfully get through the healing process.
The wet healing method uses tattoo ointment, salve and lotion to help the new tattoo skin heal from the wound.
The dry healing method involves no use of products, lotions or ointments. The only product applied at any time is a small amount of antibacterial soap when cleaning the tattoo.
The third type is the plastic wrap healing method of tattoo aftercare, which is the only one involving the use of bandage application.
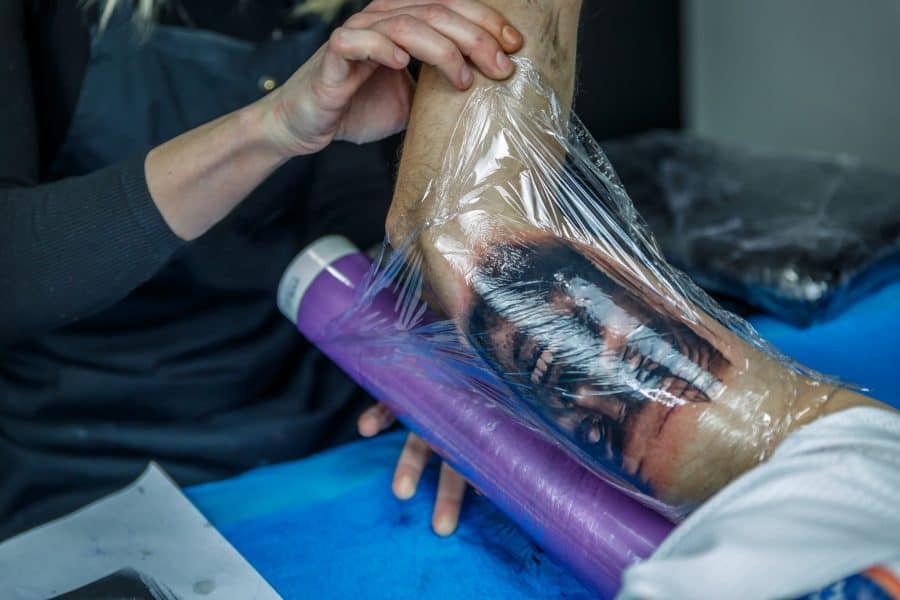
What is the wrap healing method?

Wrap healing is done by keeping your tattoo wrapped in plastic during the entirety of the healing process (you only uncover to clean the tattoo with a small amount of soap and warm water).
The idea is that the plastic helps facilitate healing as it locks in the natural moisture of your skin rather than dissipating as it would during a dry heal.
There’s plenty of similarities between the dry and wrap method – they don’t use moisturizers or other aftercare products.
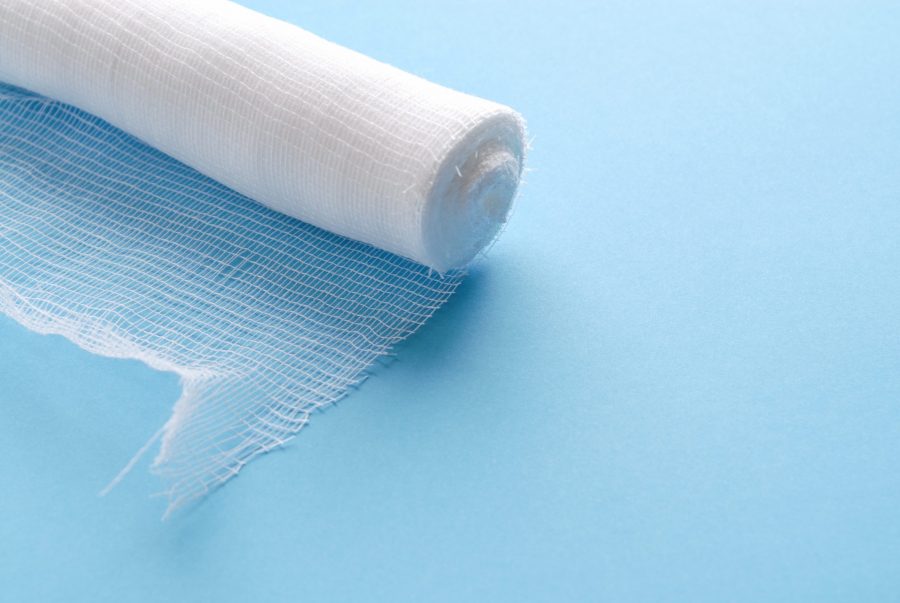
I’m not sure that covering up your new tattoo with plastic wrap, cheesecloth or an adhesive is a great idea, given the range of other proven options available for your open wound fresh tattoo.
The wrap healing method may be helpful if you have sensitive skin that you aren’t able to leave alone by picking and scratching, or if there are issues relating to your occupation that mean you need to have your skin completely covered and clothing can’t do an adequate job.
If you’re going to use the wrap healing method and apply cling film or plastic during the healing process it’s imperative that the environment is clean, your wraps are fresh, and that your hands have been thoroughly sanitized each time you wash the tattoo remove or take care of the bandage.
Conclusion
The use and application of tattoo wrappings is very simple in theory, and may be in application provided you follow instructions from your tattoo artist and the manufacturer, and maintain rigorous personal hygiene standards whenever cleaning your new tattoo or seeing to the bandage.
For more information on aspects of the tattoo healing and aftercare process click on the links below: